
Pieve di Santa Maria
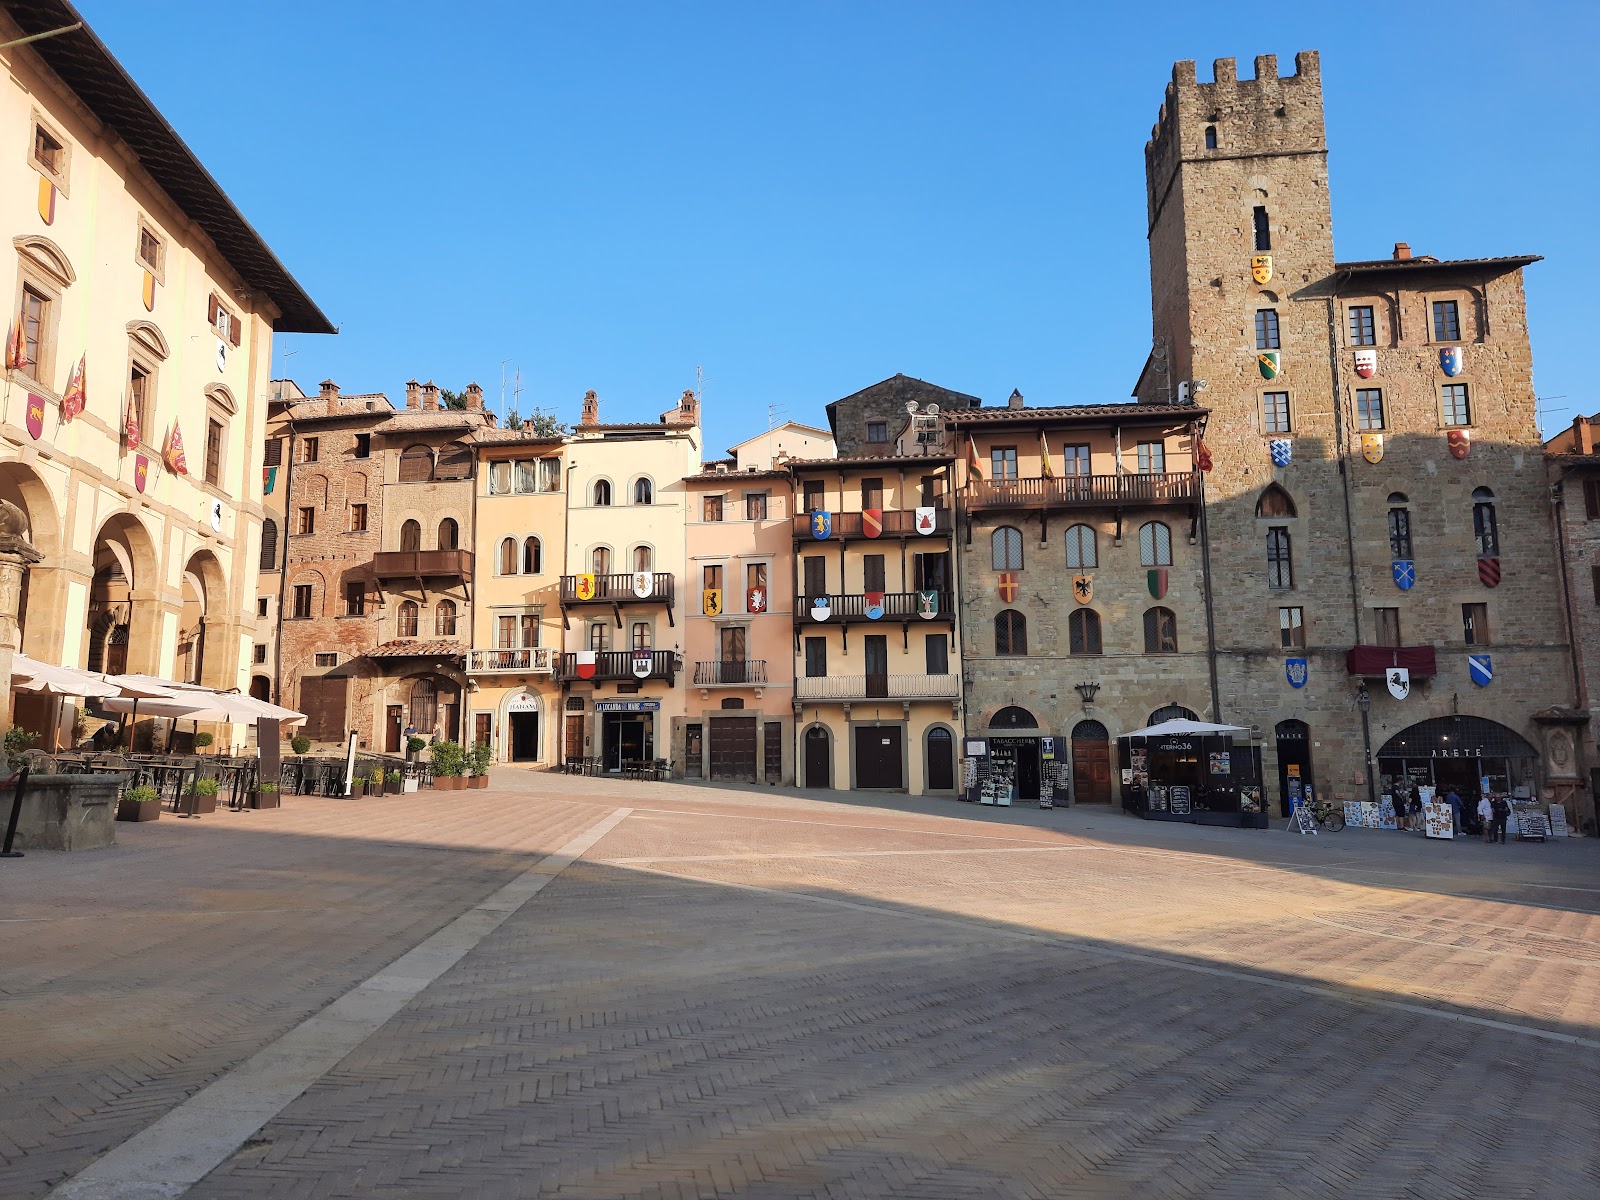
The church turns its back on Corso Italia and faces Piazza Grande with its apse — a deliberate orientation that tells you something about how seriously Arezzo once took its civic identity. Stand on the piazza side and the curved Romanesque stonework rises above the roofline like a quiet counterpoint to the square's more theatrical architecture.
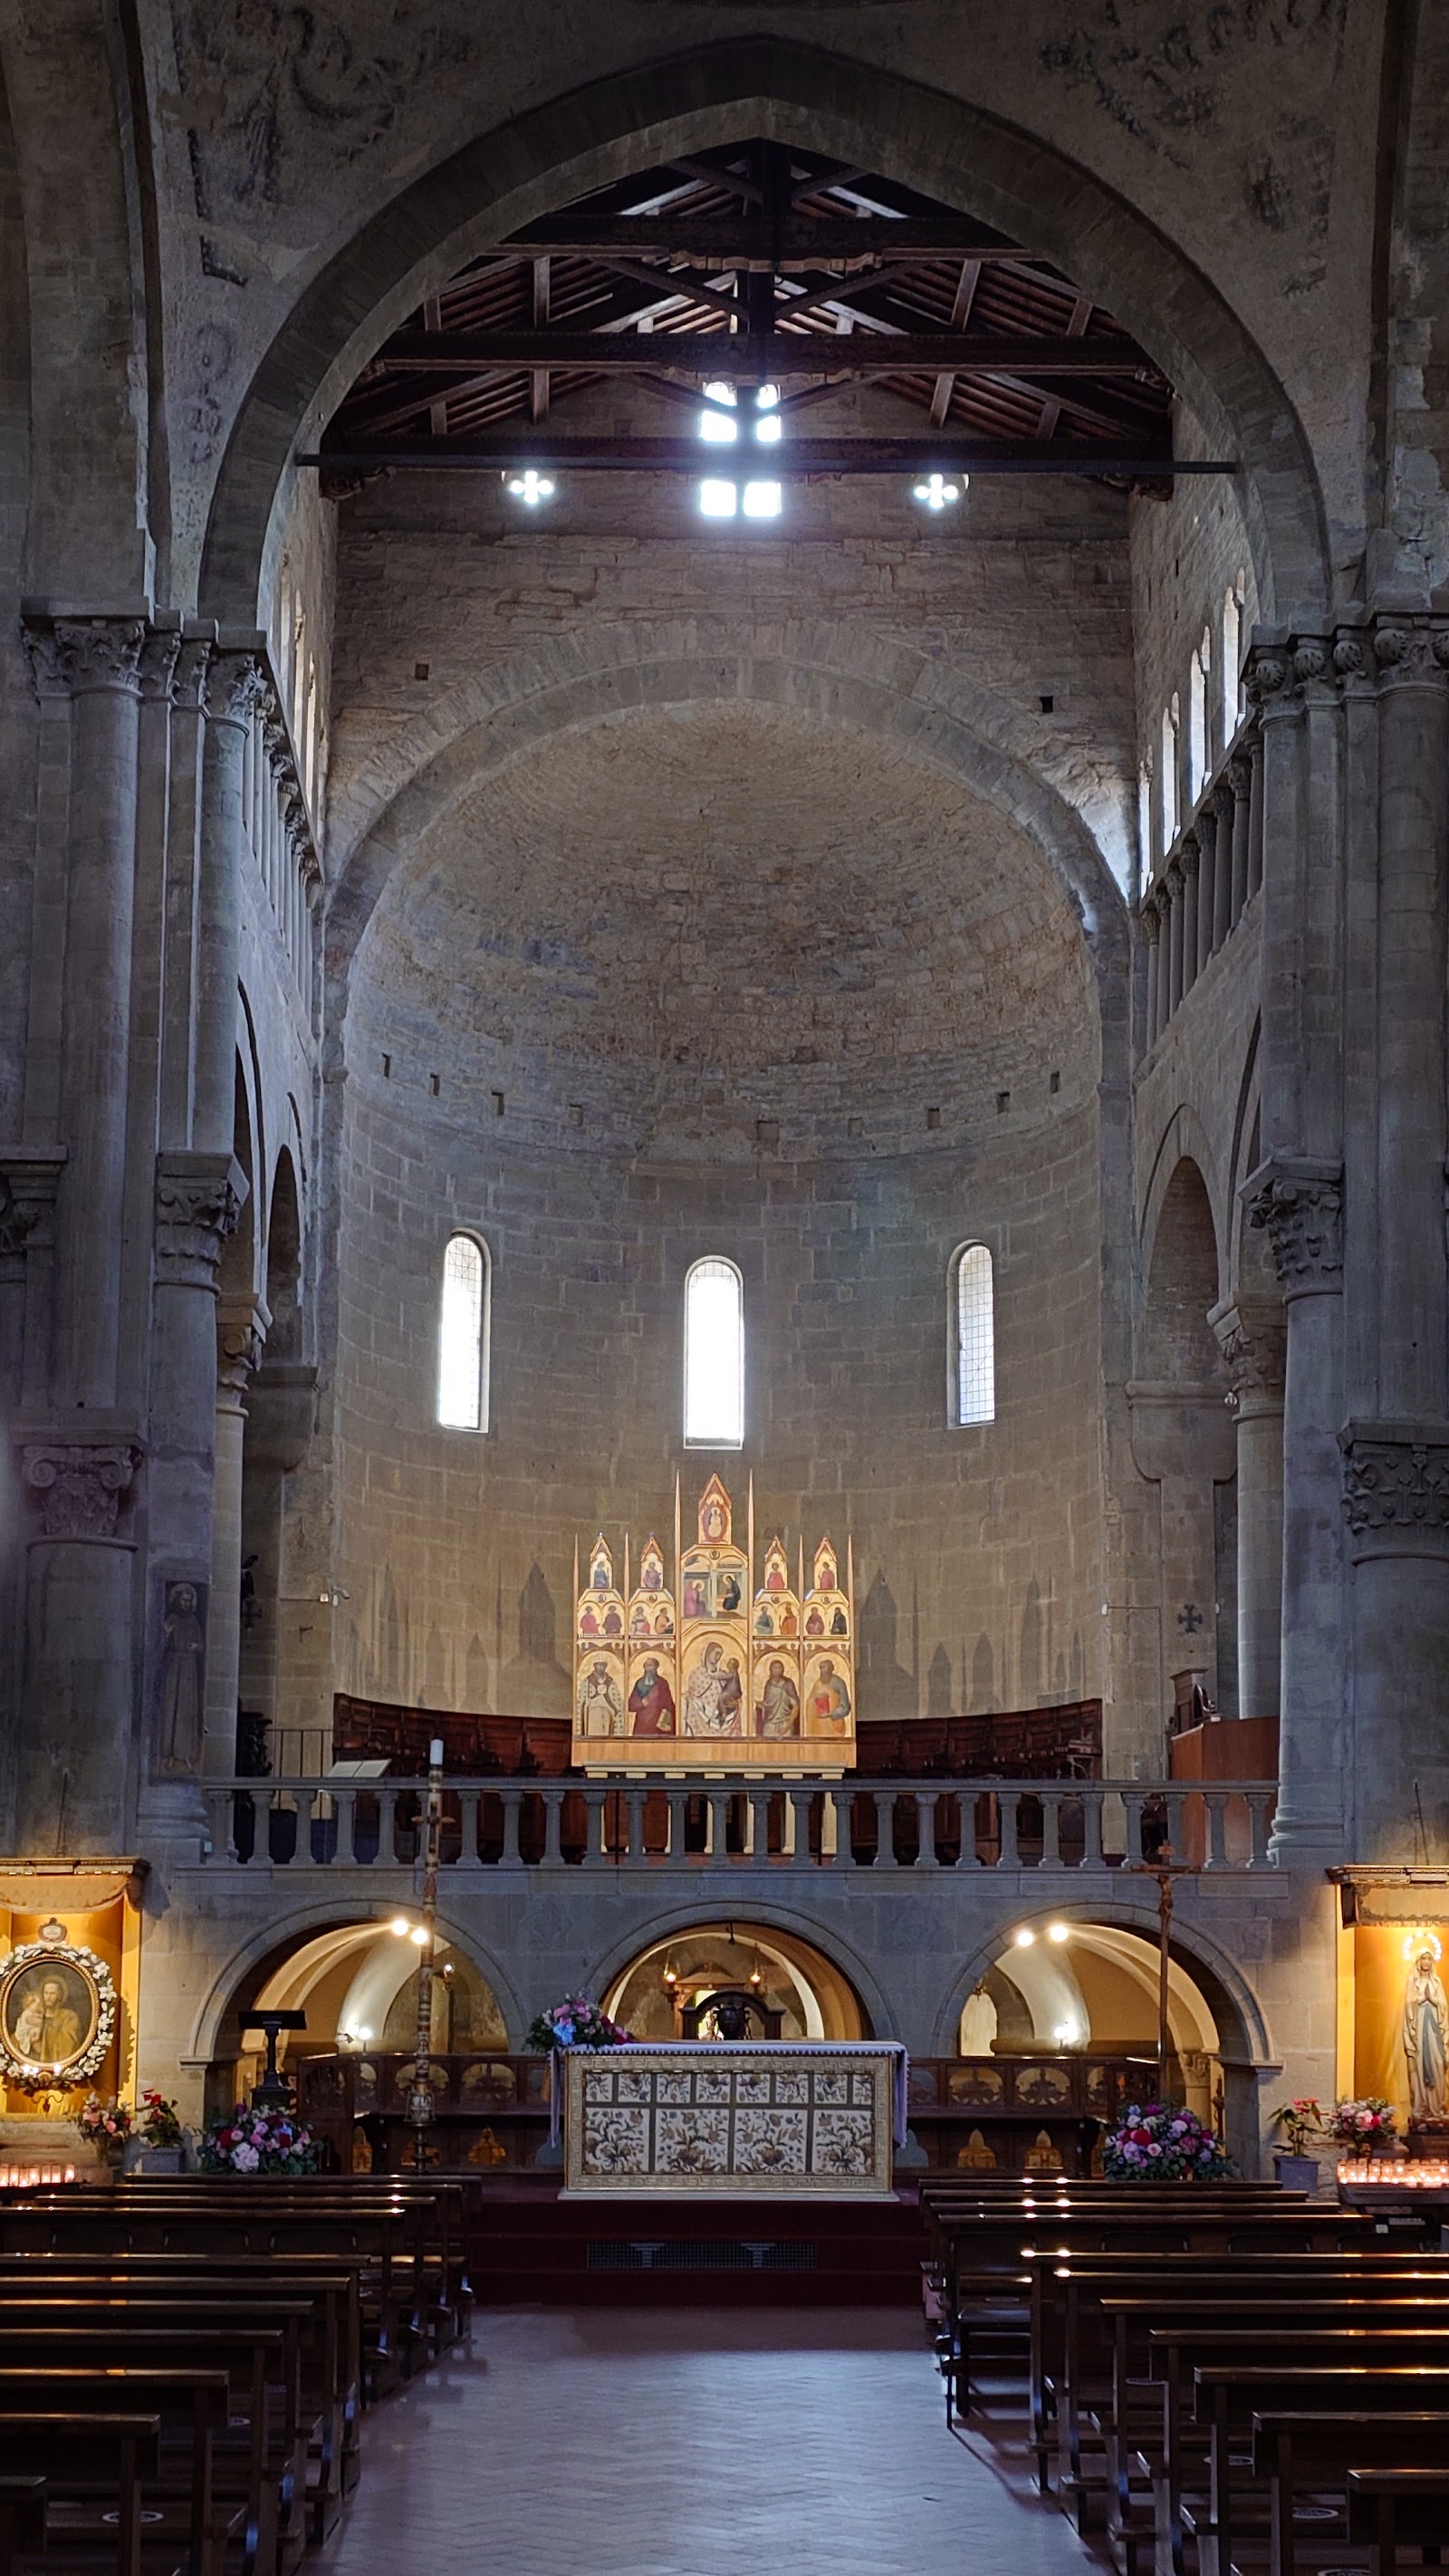
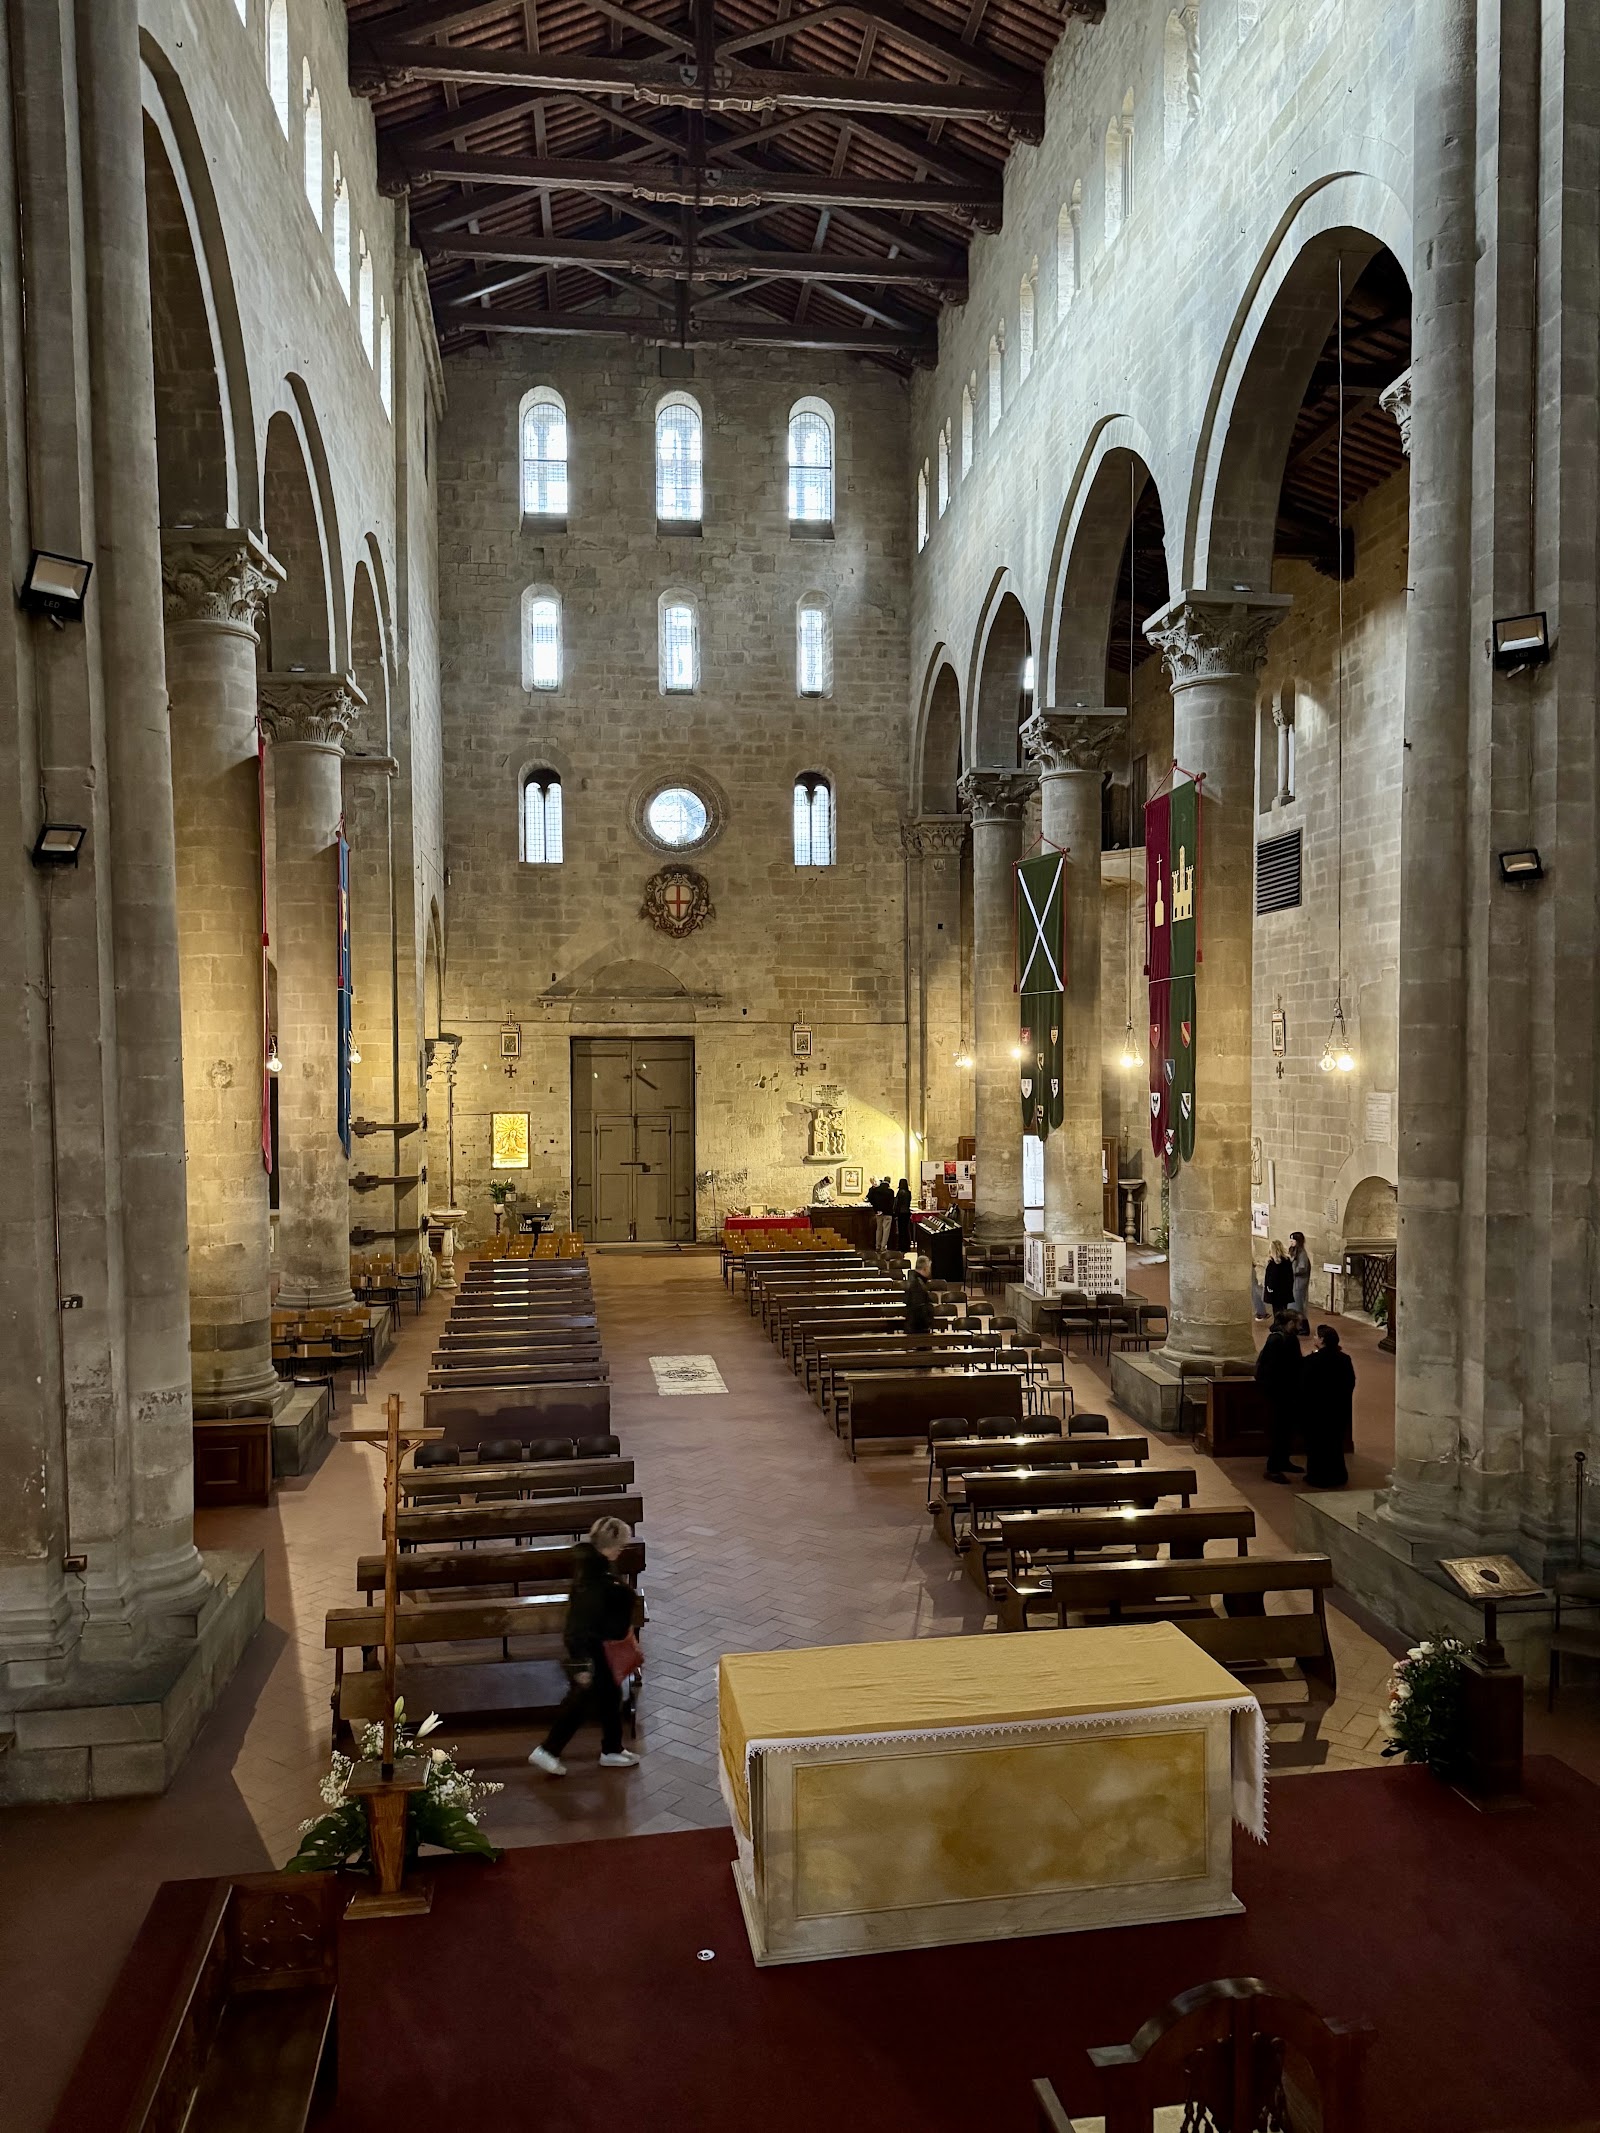
Inside, the nave runs between columns with Corinthian capitals, and Pietro Lorenzetti's 1320 polyptych — Madonna and Saints, commissioned by Bishop Guido Tarlati — holds the high altar. Somewhere beneath the nave floor, in chestnut boxes, lie the bones of Giorgio Vasari.
💛 What travellers fall for
People who return tend to seek out the fifth column from the left on the apse — the one that bows slightly outward, misshapen by design or accident, depending on which theory you believe. They also look up at the central doorway's carved calendar reliefs, the Ciclo dei Mesi, which reward a slower second look than most visitors give them.
The story behind Pieve di Santa Maria
The pieve appears in documents as early as 1008, and during Arezzo's communal era it became a flashpoint in the city's long conflict with its bishops — a church that was also, in effect, a political position. The current structure took shape through the 12th and 13th centuries, with the three-loggiaed façade and the apse added or renovated in that period. The bell tower — nicknamed the Tower of a Hundred Holes, though its actual window count is 80 — was begun in 1216 and finished in 1330.
Giorgio Vasari oversaw a 16th-century interior renovation and was later buried in a chapel here. A 19th-century restoration stripped out the Baroque additions his era had introduced, returning the interior closer to its Romanesque and Gothic bones.
Good to know
Entry is free. Hours shift seasonally — roughly 08:30 to 19:00 in summer, shorter in winter — and the church closes without notice for funerals. Confirm times on arrival. The walk from Arezzo station takes around fifteen minutes along Corso Italia.
Where is Pieve di Santa Maria?
More tickets & tours for Pieve di Santa Maria
Book directly at the provider
What travellers say about Pieve di Santa Maria
An imposing and beautiful church. Managed to visit at a moment it was almost empty, which enhanced the feeling of serenity here.
Beautiful!
Santa Maria della Pieve is probably the place that best captures the medieval soul of Arezzo. Located in the heart of the city, with its extraordinary Romanesque façade punctuated by overlapping loggias and unique columns, the church immediately conveys a sense of order and mystery. It is an architecture that does not seek the absolute monumentality of Gothic architecture, but rather a more human, rhythmic, almost musical dimension. The famous bell tower, nicknamed "of a hundred holes" for its multitude of mullioned windows, dominates the urban skyline like an ancient and familiar presence. But it is upon entering that the grandeur of the church truly comes to be understood: the austere and intimate interior preserves that Romanesque spirituality of dim light, stone, and silence, where light does not invade but slowly accompanies the gaze. Pietro Lorenzetti's extraordinary polyptych, one of the finest works of fourteenth-century Tuscany, is a testament to Sienese painting's rare balance between linear elegance, human intensity, and chromatic refinement. The figures are not simply sacred icons: they already possess a psychological and narrative presence that anticipates the great humanist era. The sculpted capitals, the decorative details, and the quality of the stone also contribute to making the church an authentic manifesto of Arezzo's Romanesque culture, suspended between austerity and refinement.
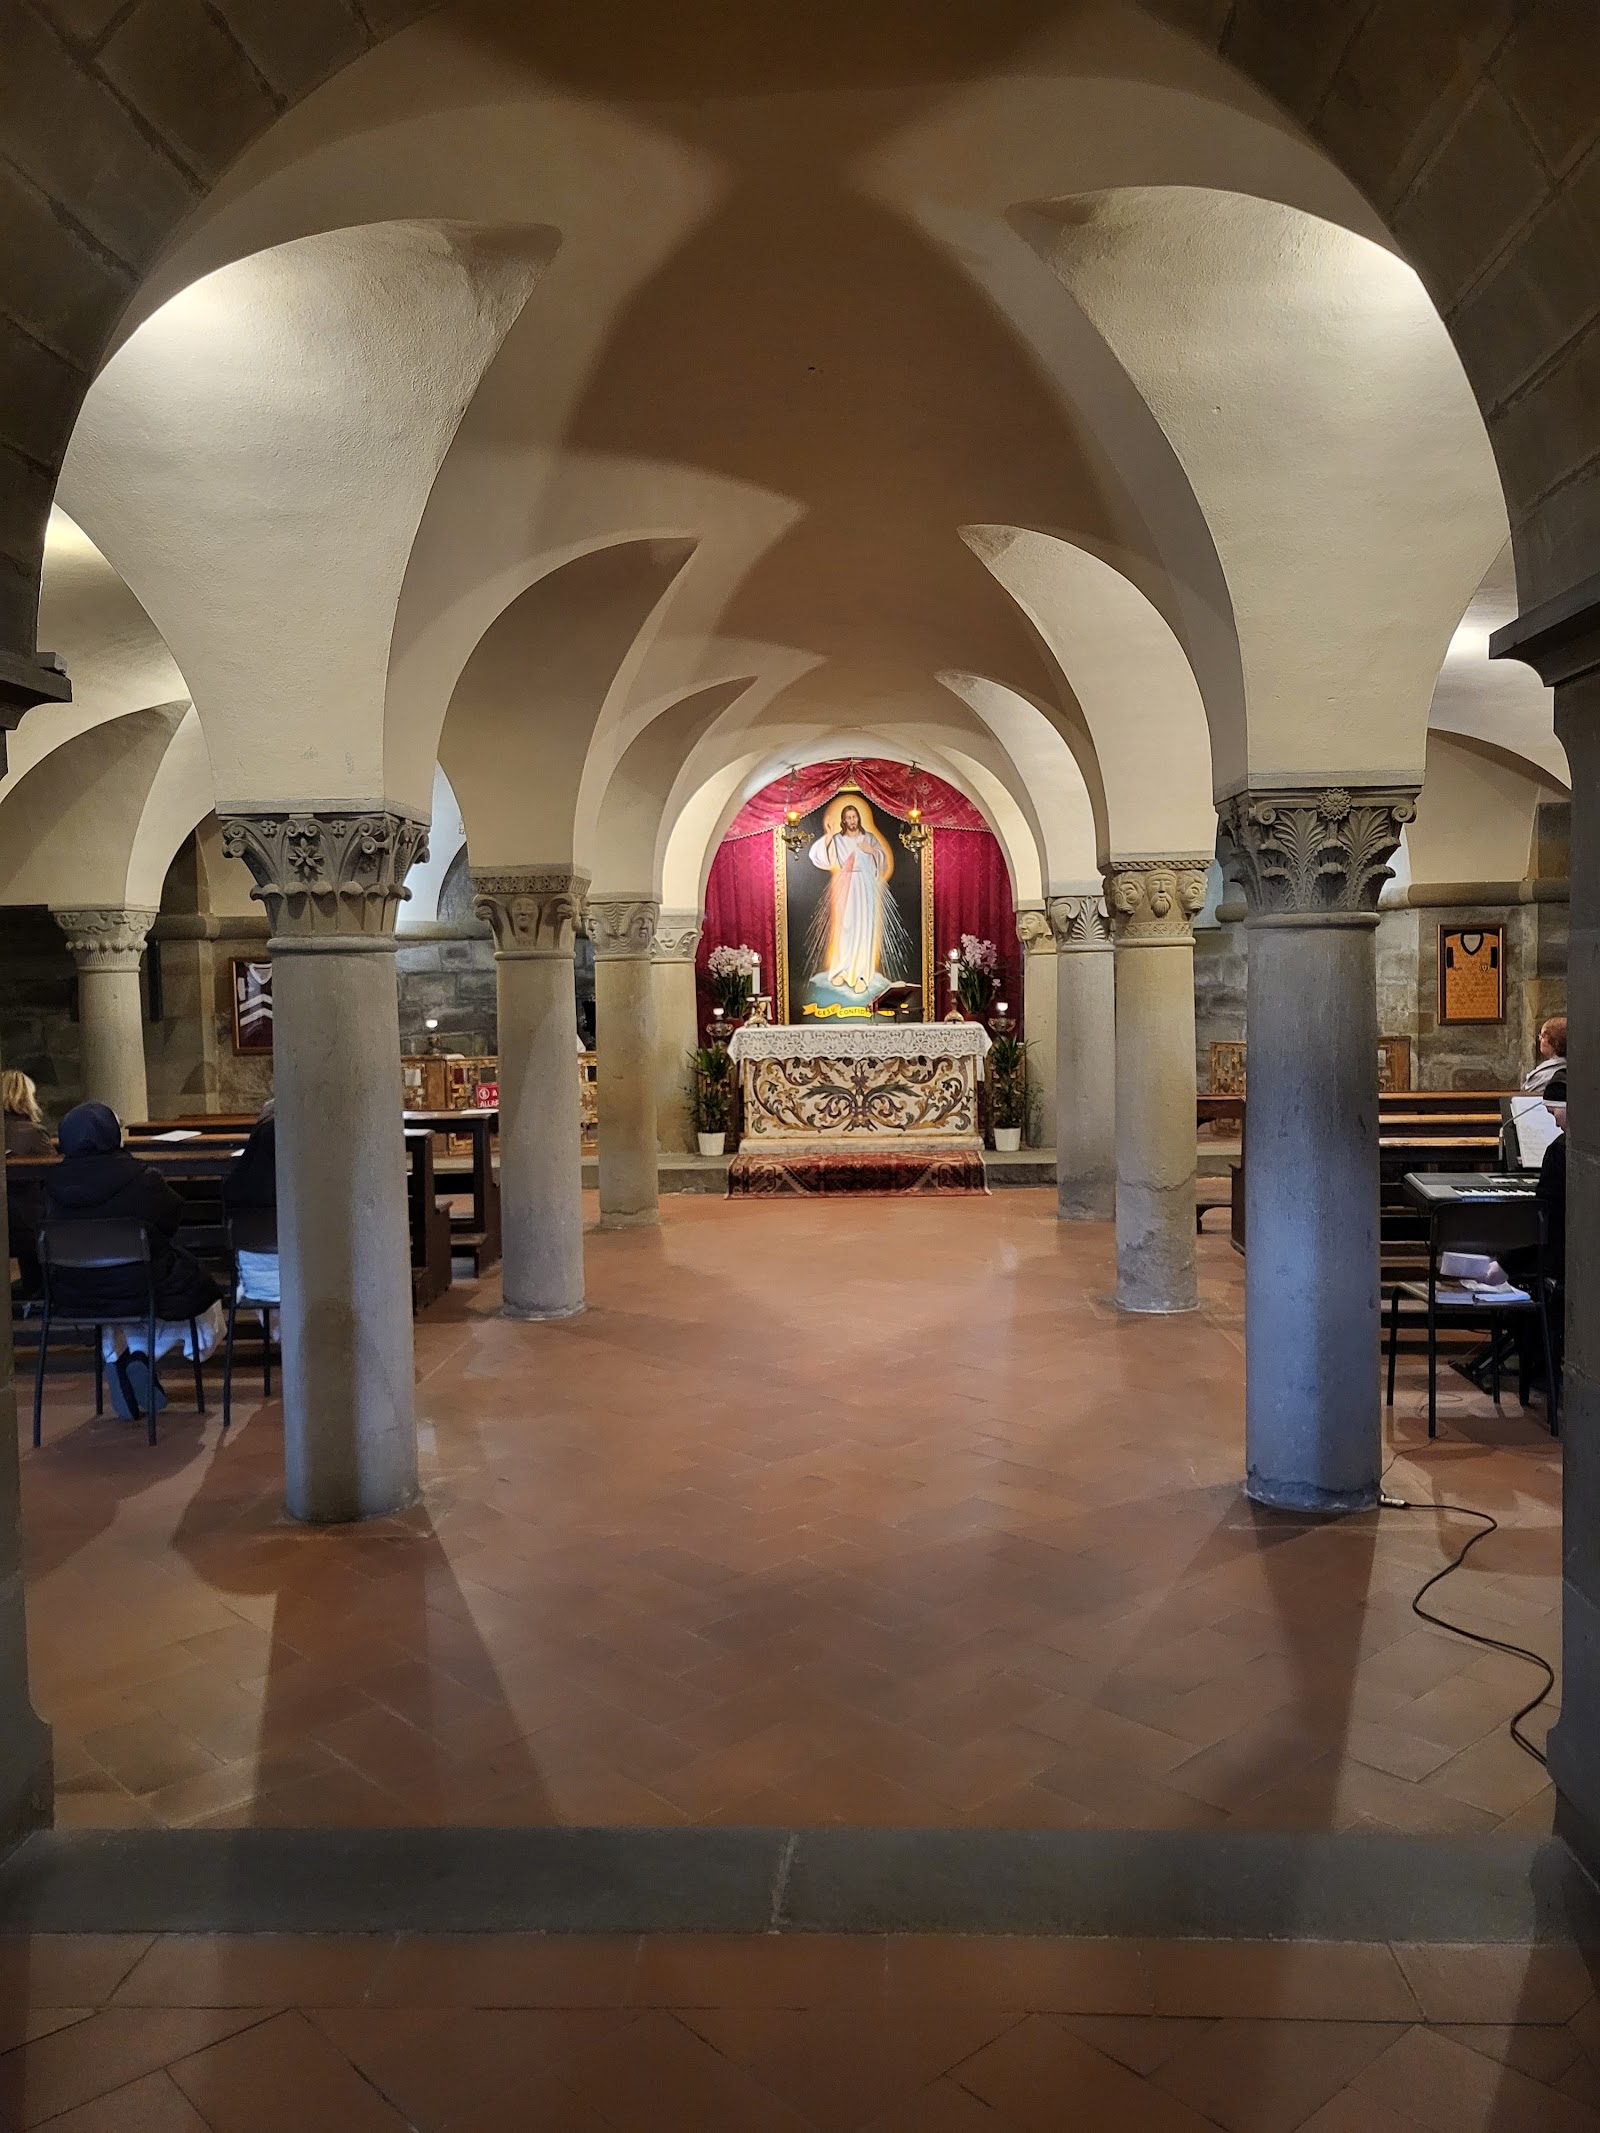
Pieve (church) refers to the common people, and as such, Arezzo's church, dedicated to the Assumption, was likely built for the baptism of the faithful and their entry into the Catholic Church. With a municipal character, and secular municipal banners can be seen inside, the parish church of Arezzo constitutes a religious and secular landmark of the utmost cultural and architectural importance in the city. A plaque informs us that inside, in an unspecified location, beneath the floor, lie the remains of Vasari, an illustrious representative of Renaissance painting in its Nanirist style and a multifaceted artist. If you look up before entering the church, on the archivolt of the central portal, you can admire the polychrome decorations depicting the personifications of the months, while the lunette depicts the Madonna between two angels. At the time of our visit, the façade was under restoration, but the beautiful apse and the bell tower were visible from the outside, overlooking the main square. The monumental interior is divided into three naves, with a raised presbytery accessed via two staircases located in the side aisles. The baptismal font, located at the beginning of the right nave, is of great artistic interest. It is decorated in relief with depictions narrating the story of John the Baptist, and the cross painted by Margarito d'Arezzo is of great spiritual intensity. Unfortunately, at the time of our visit, the presbytery hung with a photograph of Lorenzetti's polyptych, not the original painting of the Virgin and Child with Saints. Nonetheless, we were able to admire a beautiful fresco depicting Saints Francis and Dominic on one of the columns in the presbytery. The crypt, located beneath the presbytery, houses a beautiful medieval gilded silver bust depicting Saint Donatus. Exiting, a further look at the portal's vault reveals how medieval artists infused their works with power and symbolic description to capture the visual attention of the faithful.
A vast, at first glance empty Romanesque interior, illuminated—metaphorically and literally—by a golden altarpiece with paintings by Pietro Lorenzetti. Saints, painted on separate panels against a golden background, surround the Madonna, who gazes lovingly at her son. Little Jesus returns the tender gaze with sweetness and love. Mary's delicate pink robe, with its "tile" pattern, is gracefully held by the Madonna. Enter and behold this wonder.
More of Arezzo
Discover where to stay, what to do and the best deals for your trip.
Explore Arezzo →More attractions in Arezzo
All of Arezzo →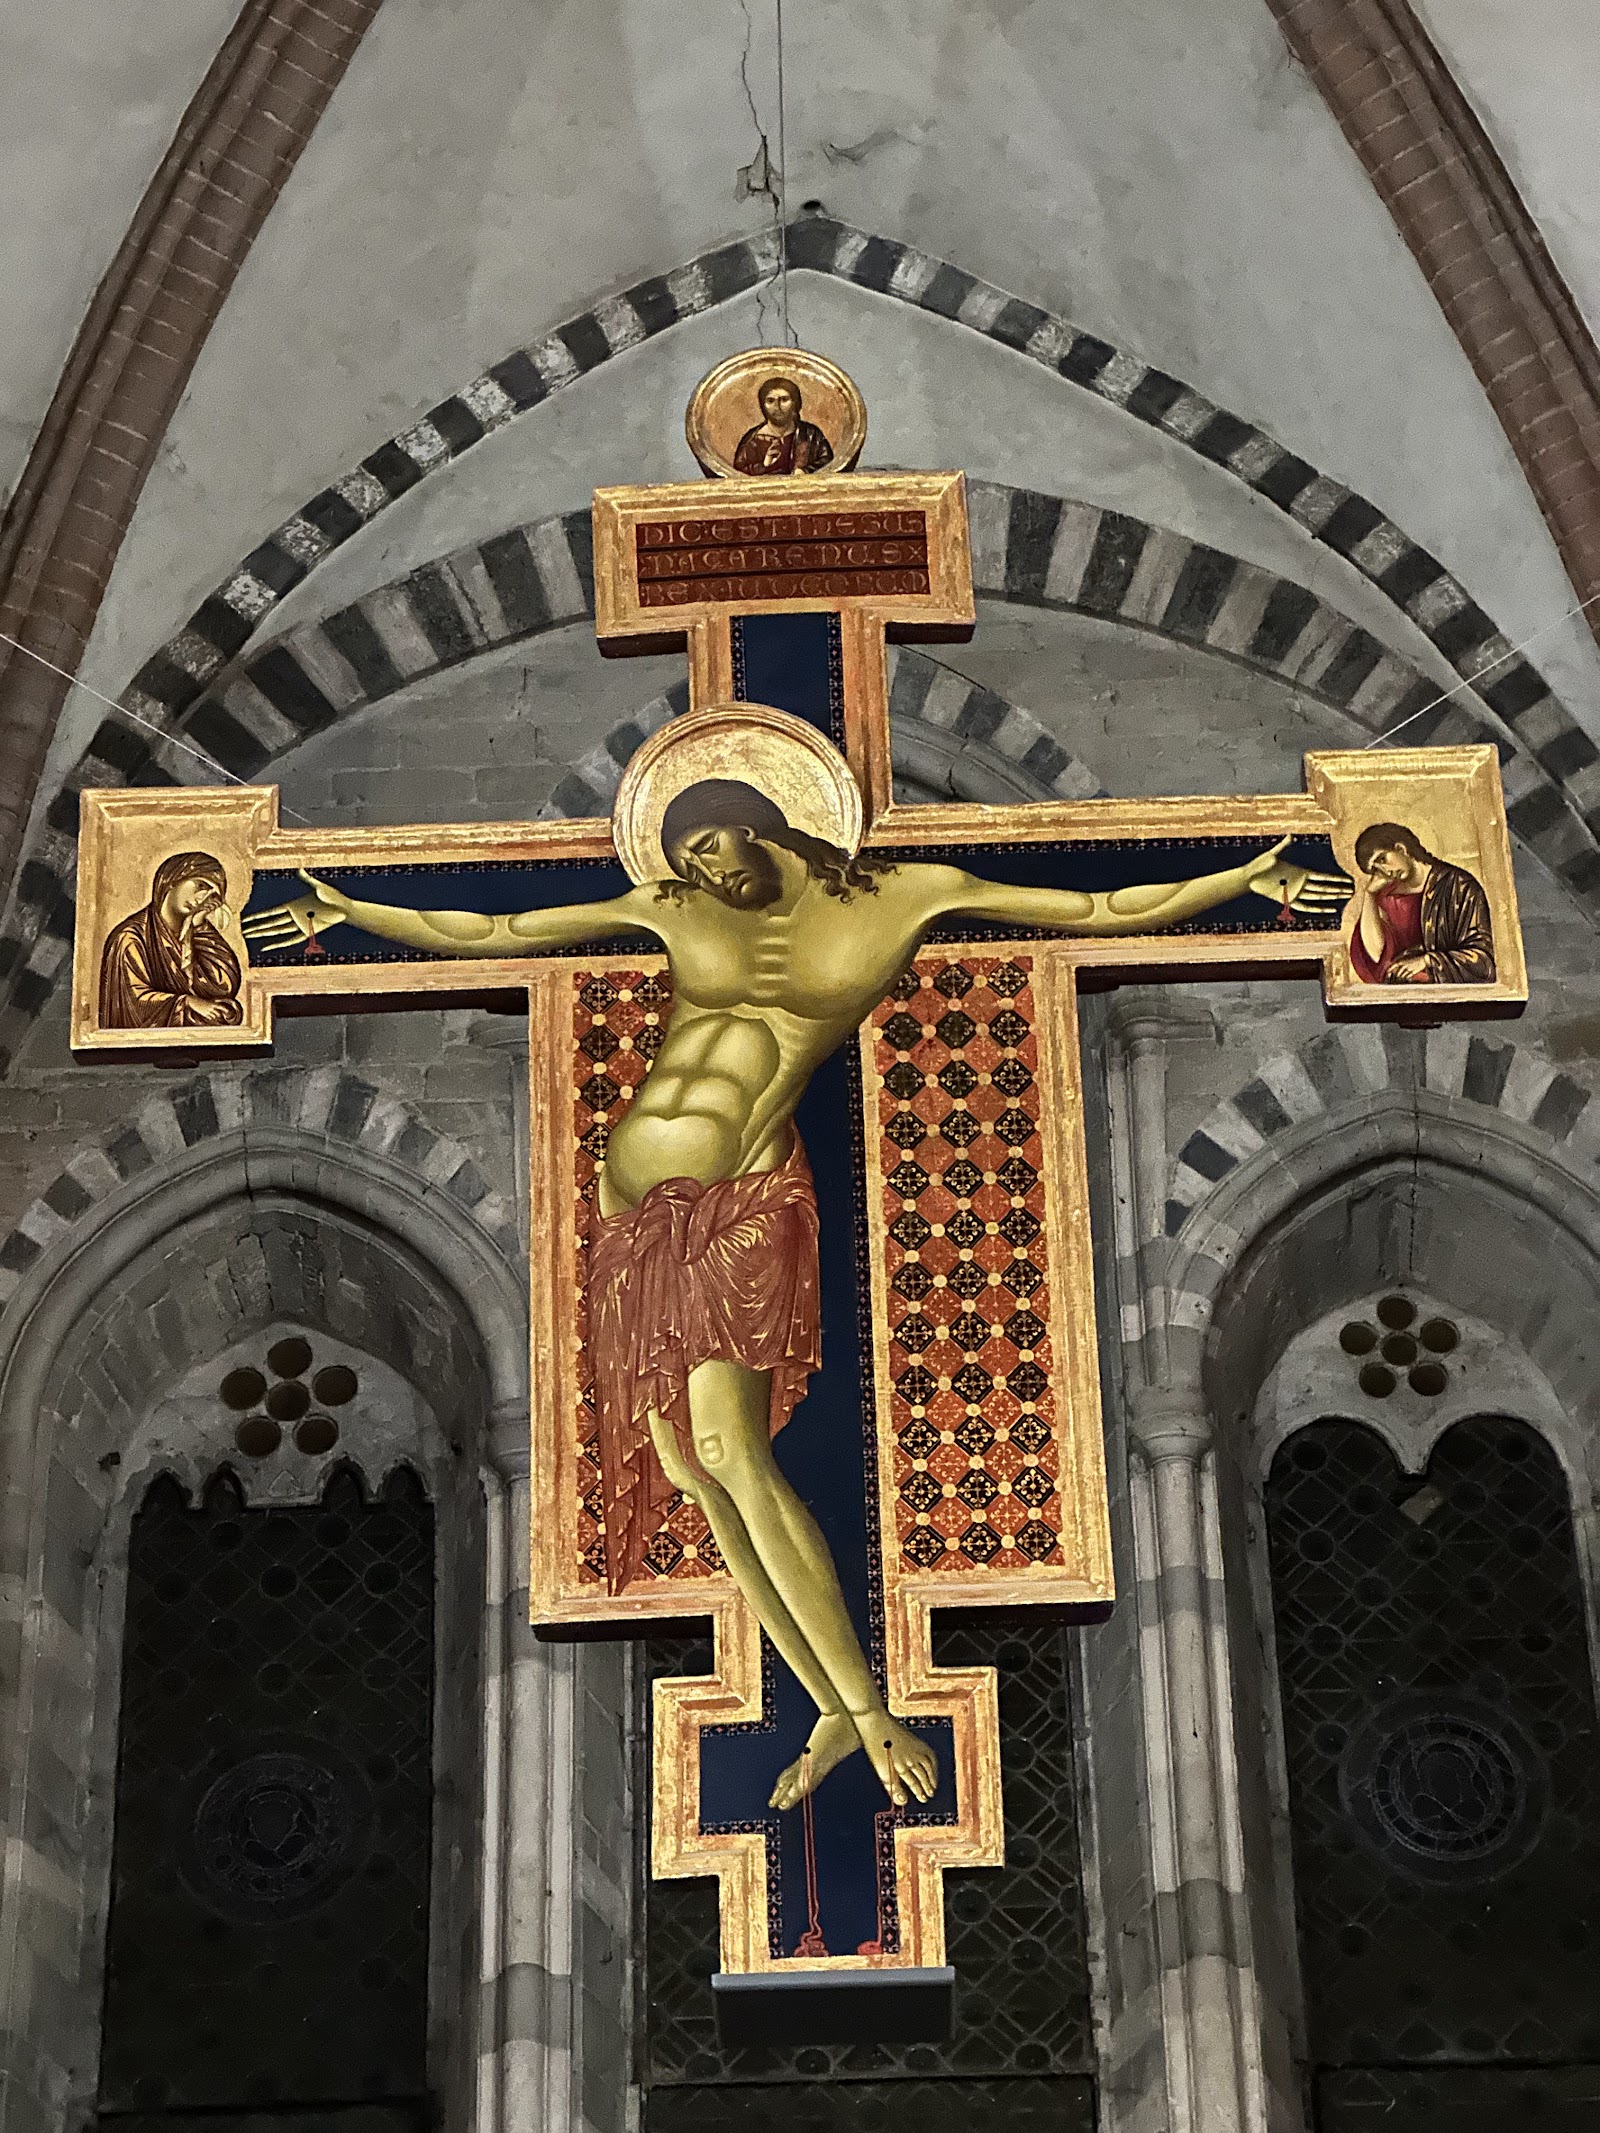
Background adapted from Wikipedia (CC BY-SA) · map data © OpenStreetMap contributors · ratings & place photos via Google · other photos with per-image credit. Ticket links may earn us a commission at no extra cost to you.